Kids Projects
More Stories
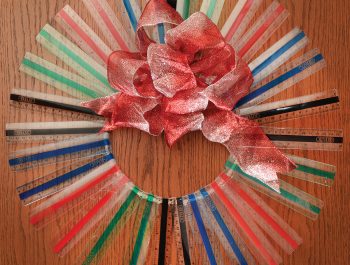
Thanks beyond measure
For Teacher Appreciation Day on May 9, create a special gift for the teacher you know and love. What you need: 1 8-inch embroidery hoop 32 6-inch rulers 1 hot glue gun with glue Embellishments (optional) What to do: Remove the inner ring of your embroidery hoop. Space 16 rulers evenly around your embroidery hoop. Using the… Continue reading.
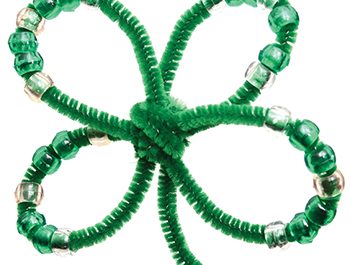
Lucky charm
What you need: Three green pipe cleaners One pair of scissors Assorted beads (We used 16 green and 12 white beads!) Three green pipe cleaners One pair of scissors Assorted beads (We used 16 green and 12 white beads!) What to do: Cut two pipe cleaners in half, so you have four pieces. String beads… Continue reading.

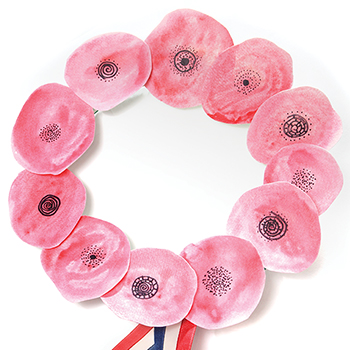
Thank your mail carrier with a homemade card!
Celebrate National Thank a Mail Carrier Day on Feb. 4! On this holiday, write a thank you note to the person who delivers mail to your mailbox six days a week. Place your note in your mailbox. Then raise the red “flag” on the side of the mailbox to alert your mail carrier that there’s… Continue reading.
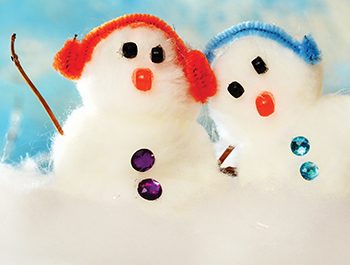
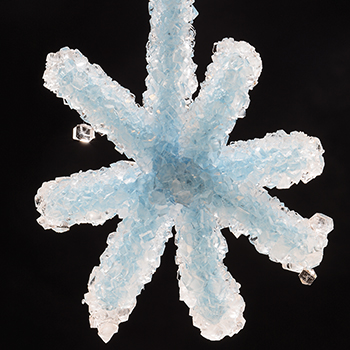
Happy Snowman
What you need: Craft glue or a low-temperature hot glue gun Two white pom poms (We used a 1.5-inch and a 2.5-inch pom pom for each snowman.) Assorted beads One pipe cleaner Twigs What to do: Glue the smaller pom pom on top of the larger pom pom. Decorate your snowman with glue and assorted beads for eyes, a nose and… Continue reading.
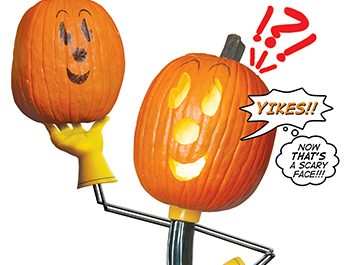
Carve a Willie Wiredhand pumpkin
Celebrate Halloween and electrical safety by creating your own Willie Wiredhand pumpkin. Download a stencil of Willie’s face, so you can carve or paint your pumpkin to look just like him! What you need: 1 tall pumpkin 1 sharp, serrated knife 1 large spoon or pumpkin scooper 1 Willie Wiredhand stencil 1 pair of… Continue reading.
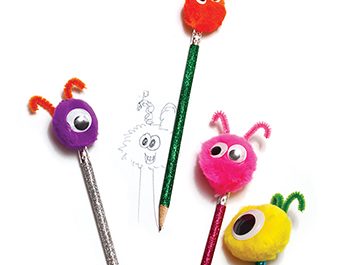
Monster pencil toppers
What you need: 1 pencil 1 removable pencil eraser 1 hot glue gun and glue 1 (1-inch) pom pom 1 pipe cleaner 1 pair of scissors Googly eye(s) What to do: Place a removable pencil eraser on a pencil. Using a low-temperature hot glue gun, apply glue to one side of removable pencil eraser. Quickly press and hold… Continue reading.
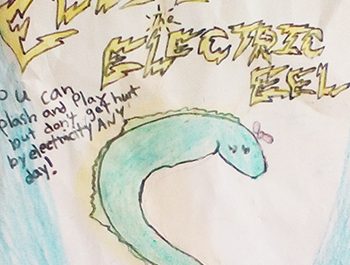
Mascot contest winners
Electric Consumer challenged its young readers to create a mascot that focuses on electrical safety or energy conservation. Our four winning mascots are listed below: Mailee Pearl Sewell, Bringhurst, Indiana: “You can splash and play but don’t get hurt by electricity any day! Hi! My name is Ellie, the electric eel. I think I could… Continue reading.
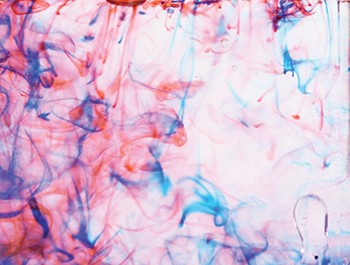
‘Fireworks’ in a jar
What you need: 1 (12-oz.) jar Water 1 bowl 3 T. oil 2 bottles liquid food coloring 1 fork What to do: Fill jar 3/4 of the way full with warm water. (Be careful! Jar may be hot.) In a separate bowl, mix oil with a few drops of food coloring. (We used one blue… Continue reading.

Create your own mascot!
Calling all kids between the ages of 5 and 14: Draw or create your own 3D model of a fun mascot that focuses on electrical safety or energy conservation. You could win one of five Louie the Lightning Bug stuffed toys! To enter, post a photo of your mascot to Instagram, tag us in your… Continue reading.
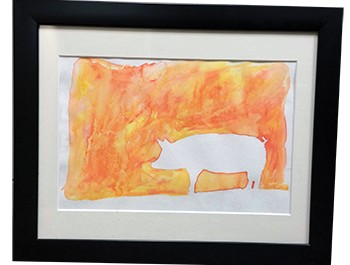
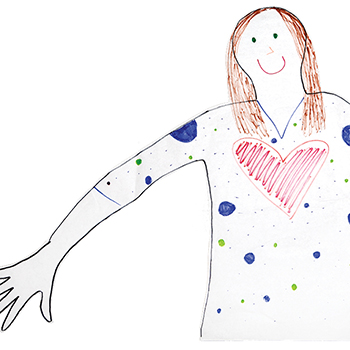
Watercolor silhouette
What you need: Printout of subject with interesting silhouette Xacto knife or scissors Watercolor paper Pencil Masking tape Cardboard Brush Watercolor paints Water What to do: Cut out your printed object, including as much detail as possible. Position your cut-out on the watercolor paper and trace with pencil. Try to keep your pencil line light. Tape your… Continue reading.
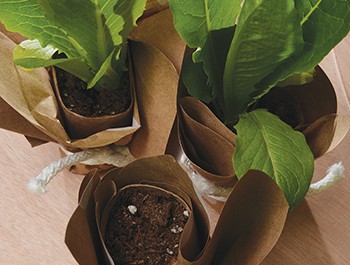
Petite pots
Celebrate Earth Day by creating a seedling pot using a recycled toilet paper tube. Plant the pot as is. The tube, wrapping and string will eventually compost and will protect the roots in the meantime! What you need: One recycled cardboard tube (at least 3 inches in height) One square piece of brown packing paper… Continue reading.
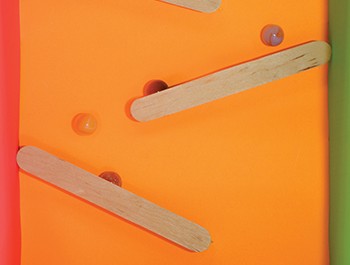
Marble run
What you need: One pair of scissors One cardboard box or lid Wrapping paper or construction paper (optional) Large craft sticks Low-temperature hot glue gun with glue sticks Utility knife Marbles What to do: If using a cardboard box with flaps, cut off flaps. Cover inside of box with wrapping paper or construction paper to make box colorful… Continue reading.