By Judy Moore
Like a giant blank canvas waiting to be painted, a large blank wall may seem like a daunting vast expanse begging to be adorned.
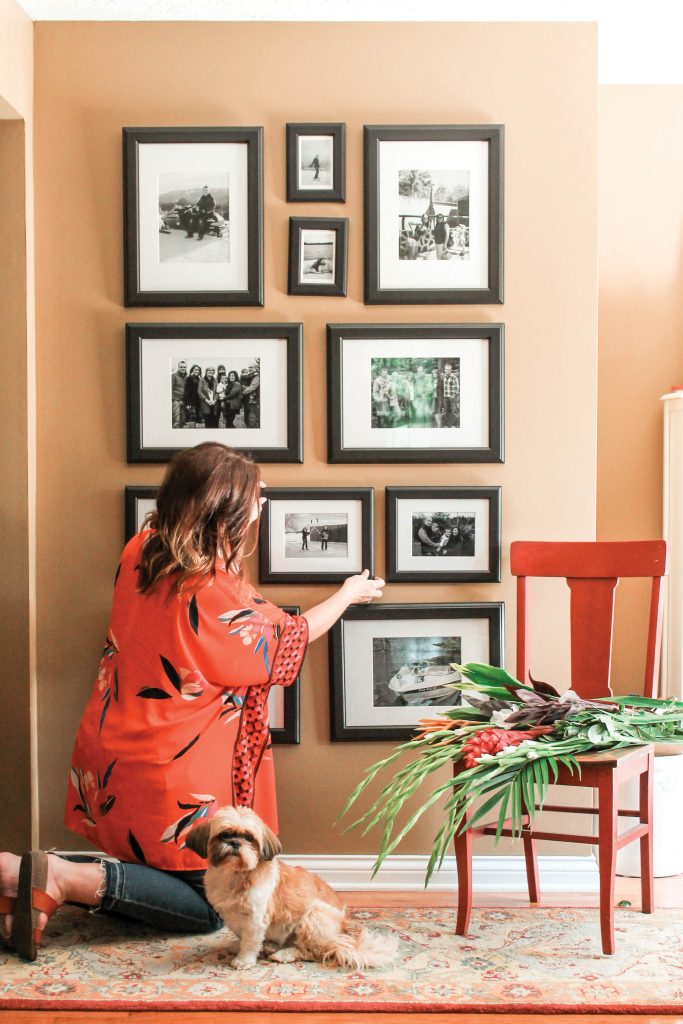
A gallery wall is a creative and visually appealing way to show off your photos, artwork, or other hanging décor. It can really add a contemporary flair to a room, hallway, or staircase. Best of all, it only requires a handful of steps to accomplish it.
Step 1: Gather your materials
First and foremost, determine what pieces you’d like to place together in your gallery. Think of your gallery wall as one piece of art, so try to keep the basic design of the frames cohesive. This may require repainting some frames or reframing them altogether. But if you prefer having lots of different frames and styles, you can certainly do that! Once you decide what pieces to include in your gallery wall, pick up the necessary tools and items to get the job done. You’ll need tape, a big roll of plain brown crafting paper, scissors, hanging hardware, nails (or screws and anchors), a hammer, and a pencil. You may also need a mini level.
Step 2: Plan the look
Roll out the craft paper on the floor and begin placing your pieces on it in your desired pattern. If you’re creating a large gallery, you may need to tape together two widths of the paper to fit all the pieces. Straight columns or rows are fine, but juxtaposing the pieces in a random pattern is professional looking and much more interesting to the eye. Don’t stress if the spacing isn’t totally precise between each piece, but arranging them about 2-3 inches apart makes the placement seem purposeful. For a more balanced look, place the larger pieces in the center of the gallery, then work your way out from there by mixing in medium and smaller pieces.
Step 3: Make templates
Once you’re happy with the arrangement, trace around every piece and write the name of the piece inside each tracing so you remember where they go. As accurately as you can, mark on the tracings where each nail would line up with that piece’s hanging hardware, be it a wire or sawtooth hanger. This mark will come in handy later. Next, there are two options for placing your templates on the wall. You could cut out each individual tracing from the paper and tape them to the wall where you want them. Or if you think the arrangement is perfect on the paper as it is, you can just tape the entire template showing all the tracings to the wall.
Step 4: Start hanging
Since you marked exactly where each nail goes on its tracing, grab your hammer and nails and get going. If you taped up individual cut-outs, simply hammer the nail in the correct spot, then tear your paper tracing away. With one giant paper template, install all the nails where they need to go, then tear away the entire template. No matter your chosen placement pattern, nothing jars the eye more than pieces that aren’t level. A mini level is the perfect solution. Now step back and admire not only your artwork and decor pieces, but your handiwork, too.
JUDY MOORE is the owner of North Manchester Do it Best Hardware and is a member-owner of Do it Best Corp., a Fort Wayne-based cooperative of thousands of hardware stores, home centers and lumberyards throughout the US and around the world.
(This article is for informational purposes only. Indiana Connection and Do it Best Corp. assume no liability for the accuracy or completeness of the information contained herein, or for injuries, property damage, or the outcome of any project.)