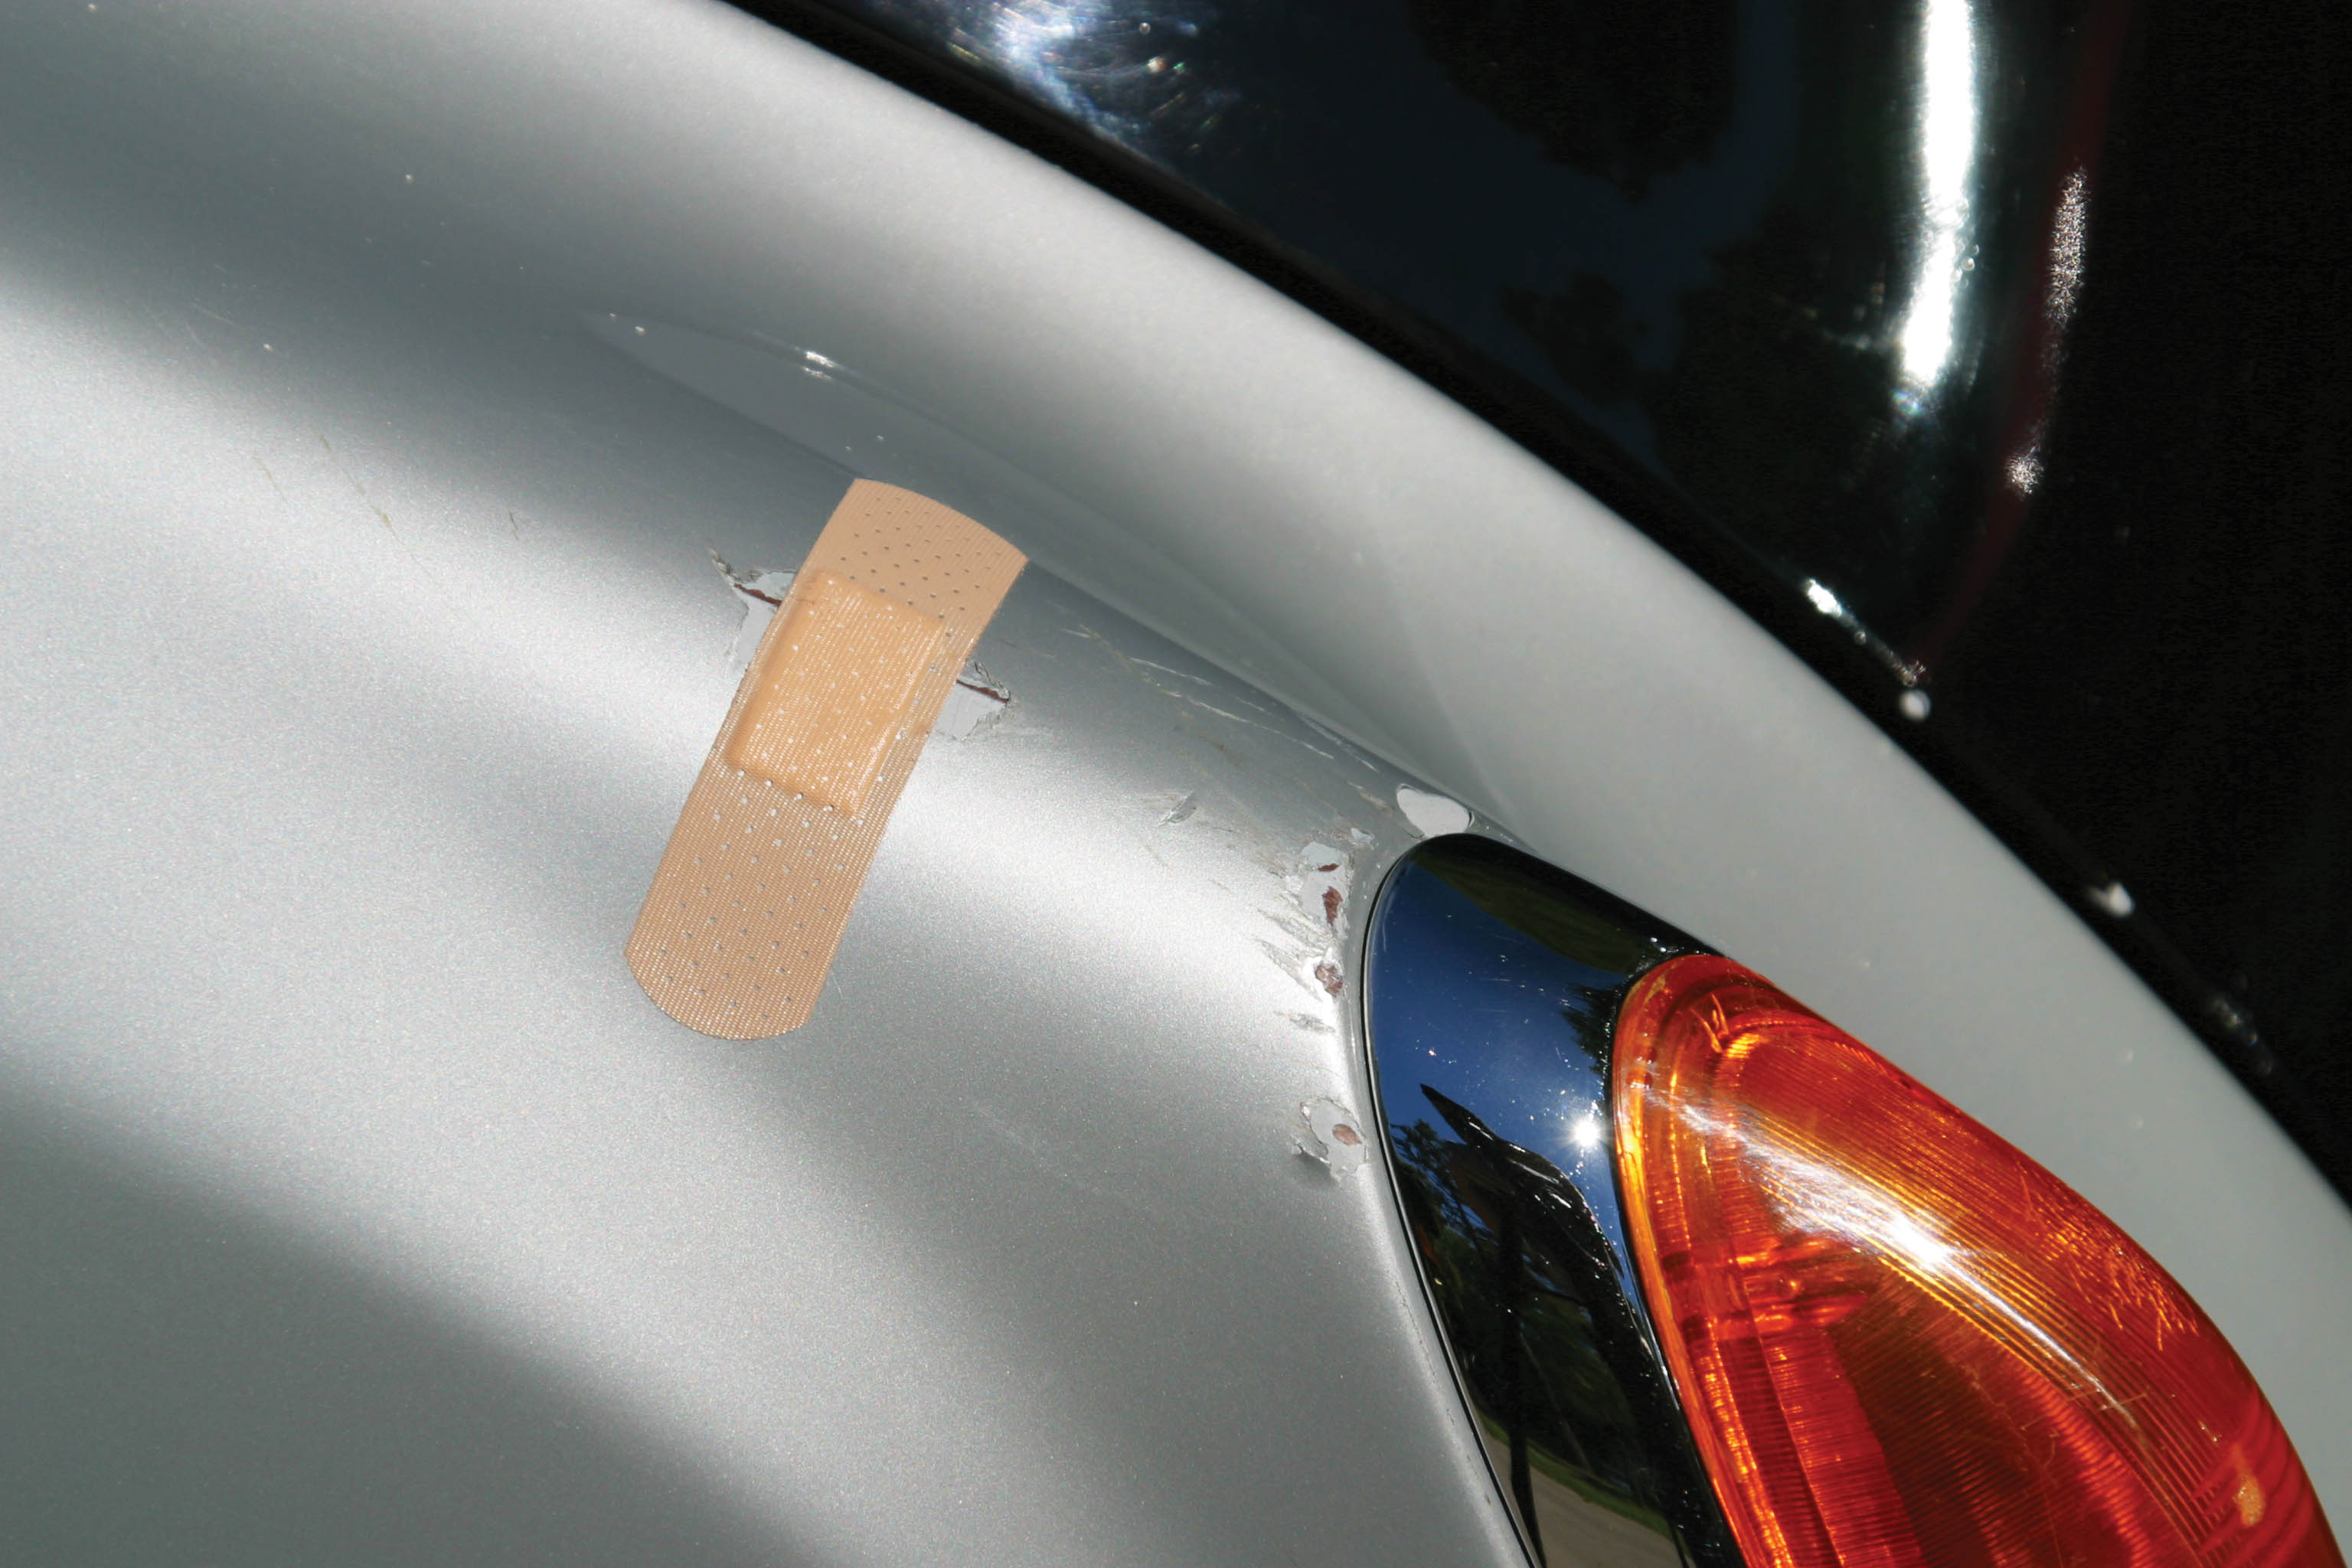
Chips in the paint of our vehicles are inevitable, especially if we drive rural “chip-and-seal” county roads before they’re fully “sealed.”
More than just making our vehicle look bad, chips deep in the paint, like a tiny cut on our body, can lead to worse problems when left untreated. If the car’s three layers of protection — clear coat, paint and primer — are damaged, rust can start forming, festering and eating at your vehicle’s metal. So, seal them up simply.
Just as a little cleaning, antibiotic and a band-aid will handle most small cuts, most small chips in the paint can be touched up with a little cleaning, touch up paint and polish. It just takes patience and proper techniques.
Clean the wound
First, wash at least the part of the car with the chips with soap and water. When dry, rub each chip thoroughly with a Q-tip dipped in rubbing alcohol, lacquer thinner or acetone to remove old wax, soap, and any remaining dirt. Let it air dry.
Touch up
Make sure your touch-up paint matches your car. Your dealer’s parts department should have the exact match, or take your VIN or the vehicle’s paint code to an auto parts store to find the match.
Now, you’ll have to act like a surgeon — and not lose your patience.
Shake the touch-up paint 15-20 seconds to thoroughly mix.
Grab some toothpicks or invest in something like a Loew-Cornell Fine Line Painting Pen — which has a small reservoir on its end to hold paint (available at places that sell art supplies or online for around $10). Set aside any small nail-polish brush that might come with your bottle of touch-up paint; you won’t use it.
The key is to apply the paint in tiny dots — do not brush the paint into the chip. Little by little in layers, fill in the chip with touches of tiny drips off the toothpick or from the paint pen. Let each layer dry before applying the next. Keep building up the layers till you overfill the chip. The paint will shrink a bit as it dries.
If your paint doesn’t come pre-mixed with clear coat, you might want to get a pen or tiny bottle of it to add on top of the touch-up paint after it thoroughly dries. Use the same dotting layer technique.
Apply the band-aid
Once you have filled in the chip so that it’s smooth with the rest of the surrounding paint and it’s dried and cured, apply your favorite wax to the whole area to help protect your work.
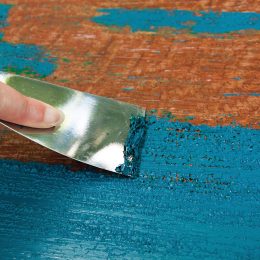
There are many videos on YouTube that show you how to perform simple fixes like this, or more involved chips. For instance, if rust has already begun and is visibly expanding underneath existing paint, additional steps are required such as scraping out the rust and sanding the chip before filling it in with paint.
As with any DIY project, know your abilities and limitations. It’s always best to follow the medical profession’s oath: First, do no harm. If you realize fixing the chips is more than you care to tackle, turn to professionals at the local car shop to help you get your car looking show-room new again.


