If we’re not at home or at work, most of us are in our vehicles. And, let’s be honest here: we can be pretty messy when we’re on the road.
Keeping your car clean and free of dirt and grime can actually make your life seem a little less chaotic because less mess does equal less stress! An automobile that is regularly cleaned and detailed also retains its resale value — and that is important when you want to sell it or trade it in for a new one.
Here are 10 things you should do to get your car looking bright, shiny, fresh and clean:
STEP 1 Clear and clean the cup holders. For a quick clean, place a used sock over the bottom of a travel cup, apply window cleaner, and twist. Make sure to use a cloth to get in the corners.
STEP 2 Remove crevice dirt. Start by picking up any change, pens, keys or other debris with your hands. Then, try using a barbecue skewer to pick out the trash and items wedged in the hard-to-reach areas. Vacuum the area using the sweeper’s crevice tool (the flat attachment on the end). Finish off with glass cleaner and a microfiber cloth.
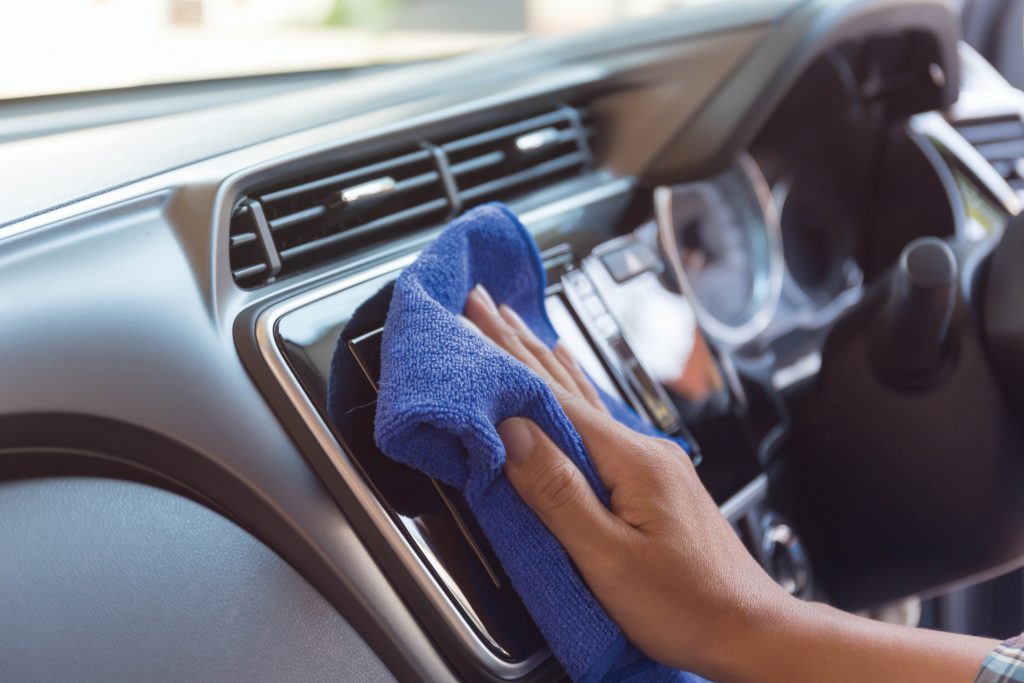
STEP 3Get those corners. Clean out tight interior areas, such as vents, seams, buttons and switches with wood skewers or cotton swabs. Louvers and vents and be cleaned using old make-up brushes.
STEP 4 Deep-clean interior fabrics. Spray already cleaned carpets and cloth seats lightly with a foaming aerosol cleaner. When it starts to dry, use a vacuum to remove it. To get a deeper clean, you can rent a carpet cleaner from an area store.
STEP 5 Careful with plastics. Use an ammonia-free glass cleaner on your vehicle’s plastic surfaces. Ammonia can cause bleaching to those surfaces.
STEP 6 Do a last sweeping. With a vacuum, do a second pass of your vehicle to pick up any dirt freed during the cleaning.
STEP 7Avoid washing in direct sunlight. This prevents any possible damage if the paint gets too hot when you’re washing and waxing. When washing, start at the top and work your way down using a mitt/rag, gentle soap, and water. Car surfaces are the grungiest as you get lower to the ground, and dirt can end up on your cleaning cloth/mitt, causing scratches.
STEP 8 Use a clay bar. After your car has dried, consider using a clay bar (available at retail outlets and auto stores) across the body panels to remove any remaining dirt. The bar can also get windows sparkling clean.
STEP 9 Shine those rims. Brake dust, tar, and road grime that’s very hard to remove can cling to your tire rims. To get them glistening, look for a wheel cleaner that’s safe for all surfaces. Avoid harsh cleaners, such as dish soap, that can damage a wheel’s finish. In tight areas, use a sponge and soft-bristled toothbrush to apply the cleaner. Rinse with water. Go over any spots you missed.
STEP 10Wait to drive. Cleaners, especially those for a car’s exterior, stay wet for a while, which can attract dirt when you drive. Make sure the vehicle is dry prior to driving it.
Source: ConsumerReports.com